Tuesday, April 3, 2012

T-Shirt Tuesday class

I was so privileged to be asked to present a program for the Northern Virginia Chapter of the SAGA (Smocking Guild's) monthly meeting.  I was both excited and nervous.  Those gals as so talented and their work is impeccable and sooooooooooo beautiful.  I knew I had to bring my "A" game, and I hope I did.

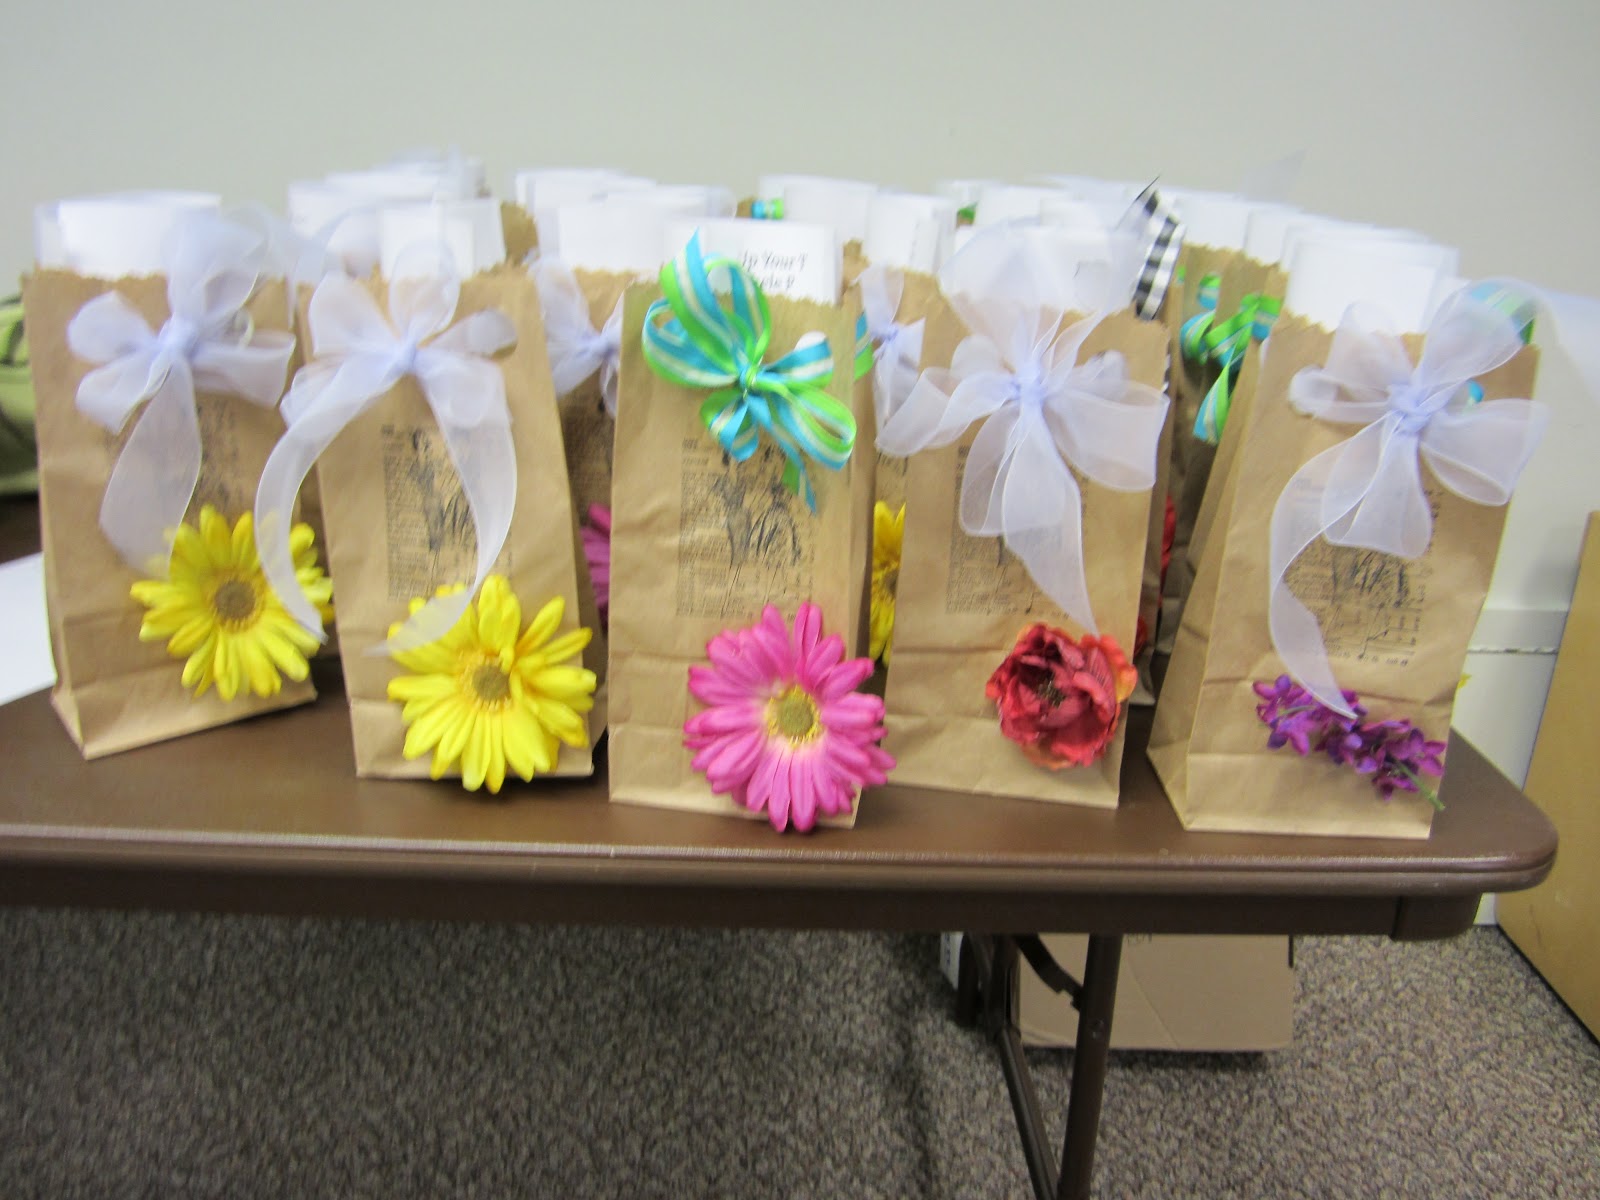
 I was asked if I wanted to make kits for the class and here is what I came up with, these are the bags that they were in:
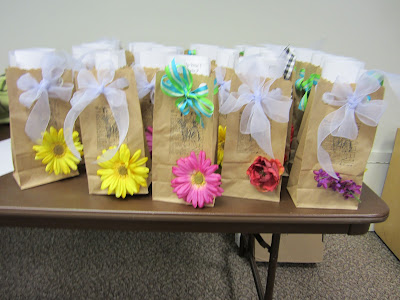


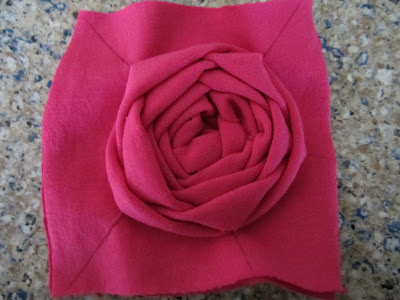
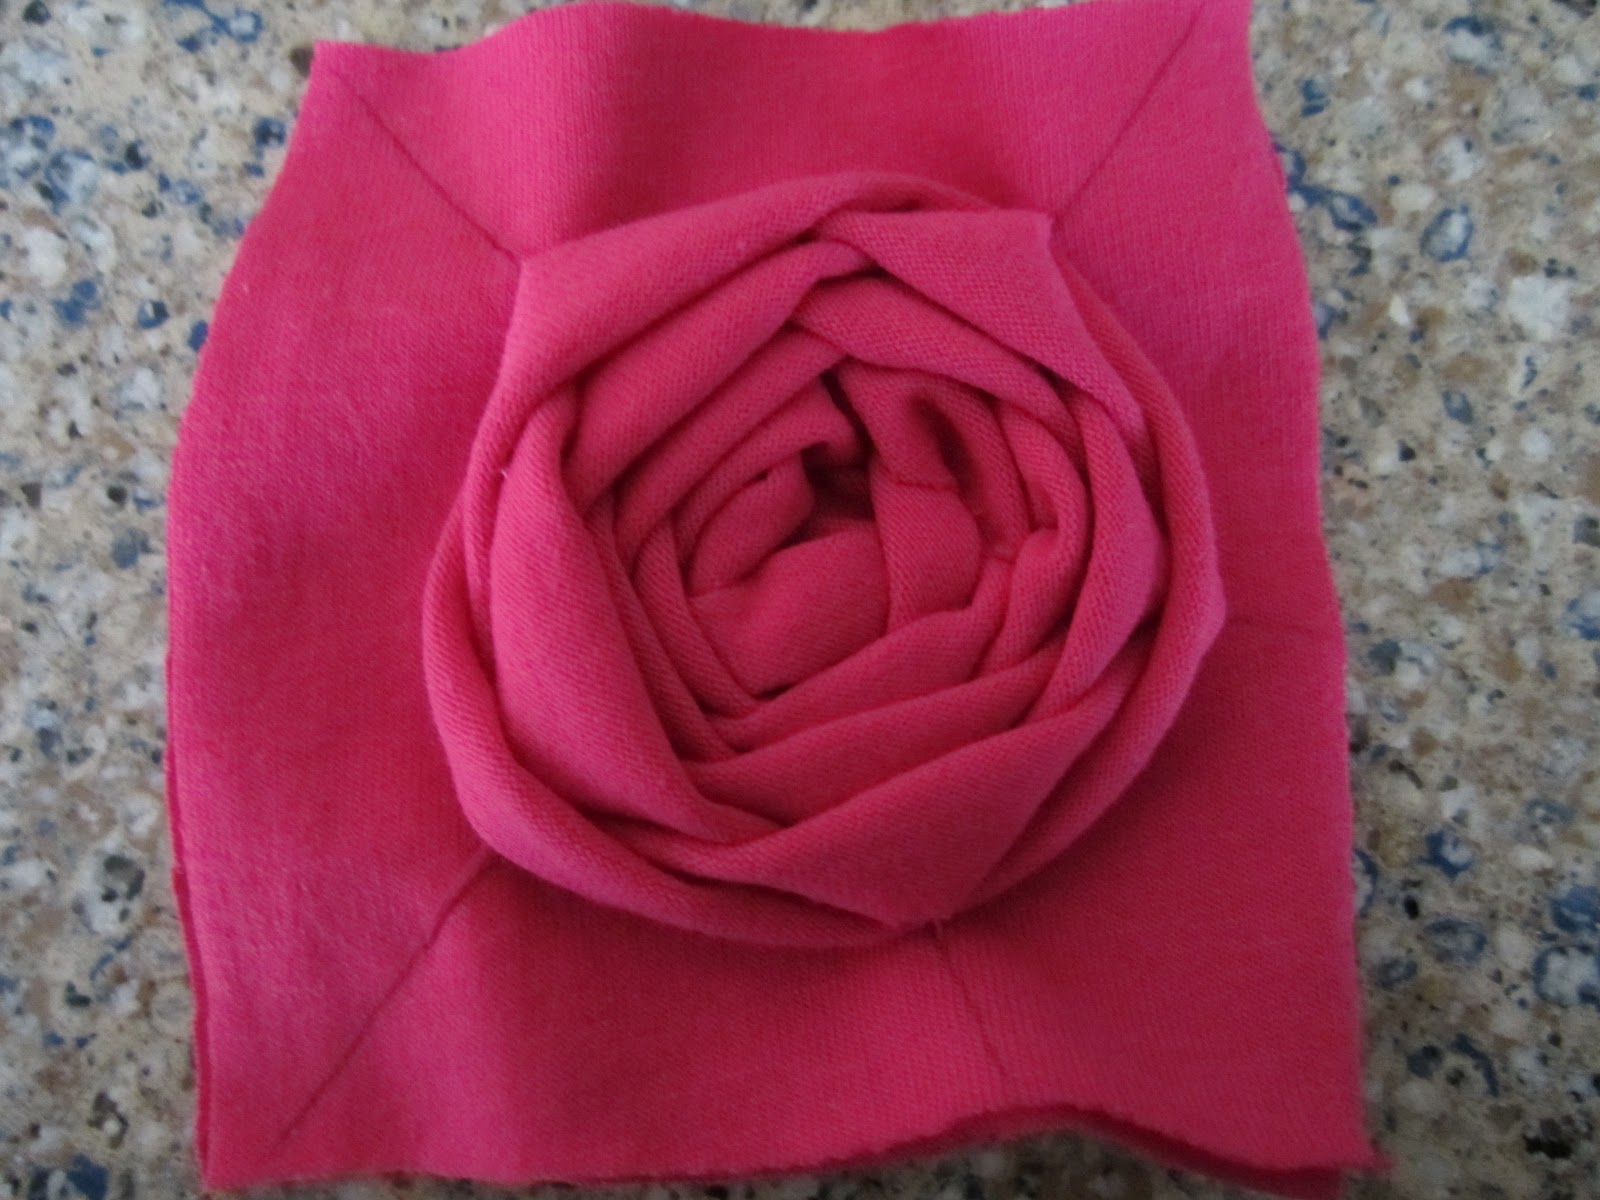
I taught them the spider web rose technique, and as you can imagine, they all caught on quickly.  They really are such a talented bunch.  Here is a sample of one that is almost completed.  The only thing left to do is cut off the backing fabric.

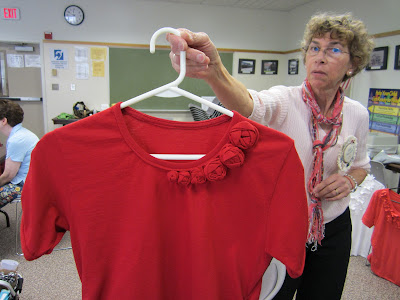
Here is one of my students and dear friend- Angie - she is a VERY talented smocker and this is her version of the spider web rose

how cute it that!

And for this project, I was motivated to complete this T for me:
Well, I was going to post a new T, but I can't find my camera.  I think I left it at the last ASG event I attended.  Yikes -
so no pics from me today.

Happy Sewing,
Michele P

Monday, March 26, 2012

I ran across this post on Rhonda's Creative Life.  She is posting a series of sleeve makeovers.  She really does a great job of showing how to create the pattern from a basic sleeve pattern.


Sleeves On Saturday


When I first introduced the new series of Sleeves On Saturdays, I showed you this top. The top itself is just a basic T-shirt top. The sleeves are what make it interesting.
Nice drapes that fall from armhole seam.
Begin with your sleeve pattern.
Fold the sleeve in half. It's much easier to work with just half of the sleeve.
Draw in the lines where you would like your drapes to fall from. I forgot to add in the above picture that you should number your pieces. It's always helpful to number pieces because once they are cut apart, it can get a little confusing.
Draw a vertical guide line on your paper. Begin by placing the bottom portion of your sleeve on the line, number 1 in the picture above. Decide how deep you would like your drapes to be and place the next piece of your sleeve on the line, 2" to 3" is a good amount for the spread, but it is up to you. You can also decide if you would like the bottom drape to be deeper than the other drapes, you are the designer, it's up to you.
Click here for the complete tutorial.
 
 
Happy Sewing,
Michele P

Friday, March 23, 2012

Zipper Neck!

Again on Pinterest I found this fantastic tutorial.  I can't wait to try this.  Perhaps this Sunday I can get to it!

The site is Trash to Couture and click here for the entire tutorial.


Supplies: Zipper 22 inches or so...

old tshirt or 1 yard fabric.


I am all about casual style, but usually like something to separate my tee from everyone elses. This started in middle school when I took my first sewing class and from their I was refashioning the family's "giveaway pile."

Here is one I designed back then that I recreated for a tutorial. I wanted to share it because it's quite easy, yet still looks amazing! I've never seen anything like it...enjoy!


For this zipper: I know they have double zippers, but they go the other way so you will have to make it like i did. I had a 22 inch one (you can get these at any fabric store). I needed another side so I pried the little stoppers off the end and pulled another zip through...so now it's double sided.


You can use an old tshirt, it doesn't matter what size. Cut the neck ribbing and shoulder/sleeve seams as shown here. You will probably have to cut the sleeves to fit with the length of the zipper or adjust the zipper length if you don't want to finish the sleeves again. You can also cut sleeves off of mens tshirt and it usually fits about right...


If you use fabric: I used a light jersey cotton with a nice drape. I cut 2 pieces of fabric at 22 inches wide (as wide as the zipper). If you want to finish the edges add a 1/4 inch seam allowance. It is 40 inches long to add a cinched waist.


If the fabric is light, I would suggest ironing interfacing to the edges so it wont wave from the zipper.
Sew (front and back) right sides together starting at either end.

Sew the side seams if you used your own fabric. Then cinch the waist like I did here. This will give the shirt some shape.


I really think she did a great jog with this tutorial.  I have been trying to figure out how to make this top for quite a while, and now I know!

Happy Sewing,
Michele P

Tuesday, March 20, 2012

Spring Flowers

I ran across this tutorial on a blog I found on Pinterest! I think these are beautiful and worth a try for Easter or a party.


Just a few supplies and presto  you have these great flowers.

Click Here for the full tutorial

Sew Happy,
Michele P
Related Posts Plugin for WordPress, Blogger...