Tuesday, April 3, 2012

T-Shirt Tuesday class

I was so privileged to be asked to present a program for the Northern Virginia Chapter of the SAGA (Smocking Guild's) monthly meeting.  I was both excited and nervous.  Those gals as so talented and their work is impeccable and sooooooooooo beautiful.  I knew I had to bring my "A" game, and I hope I did.

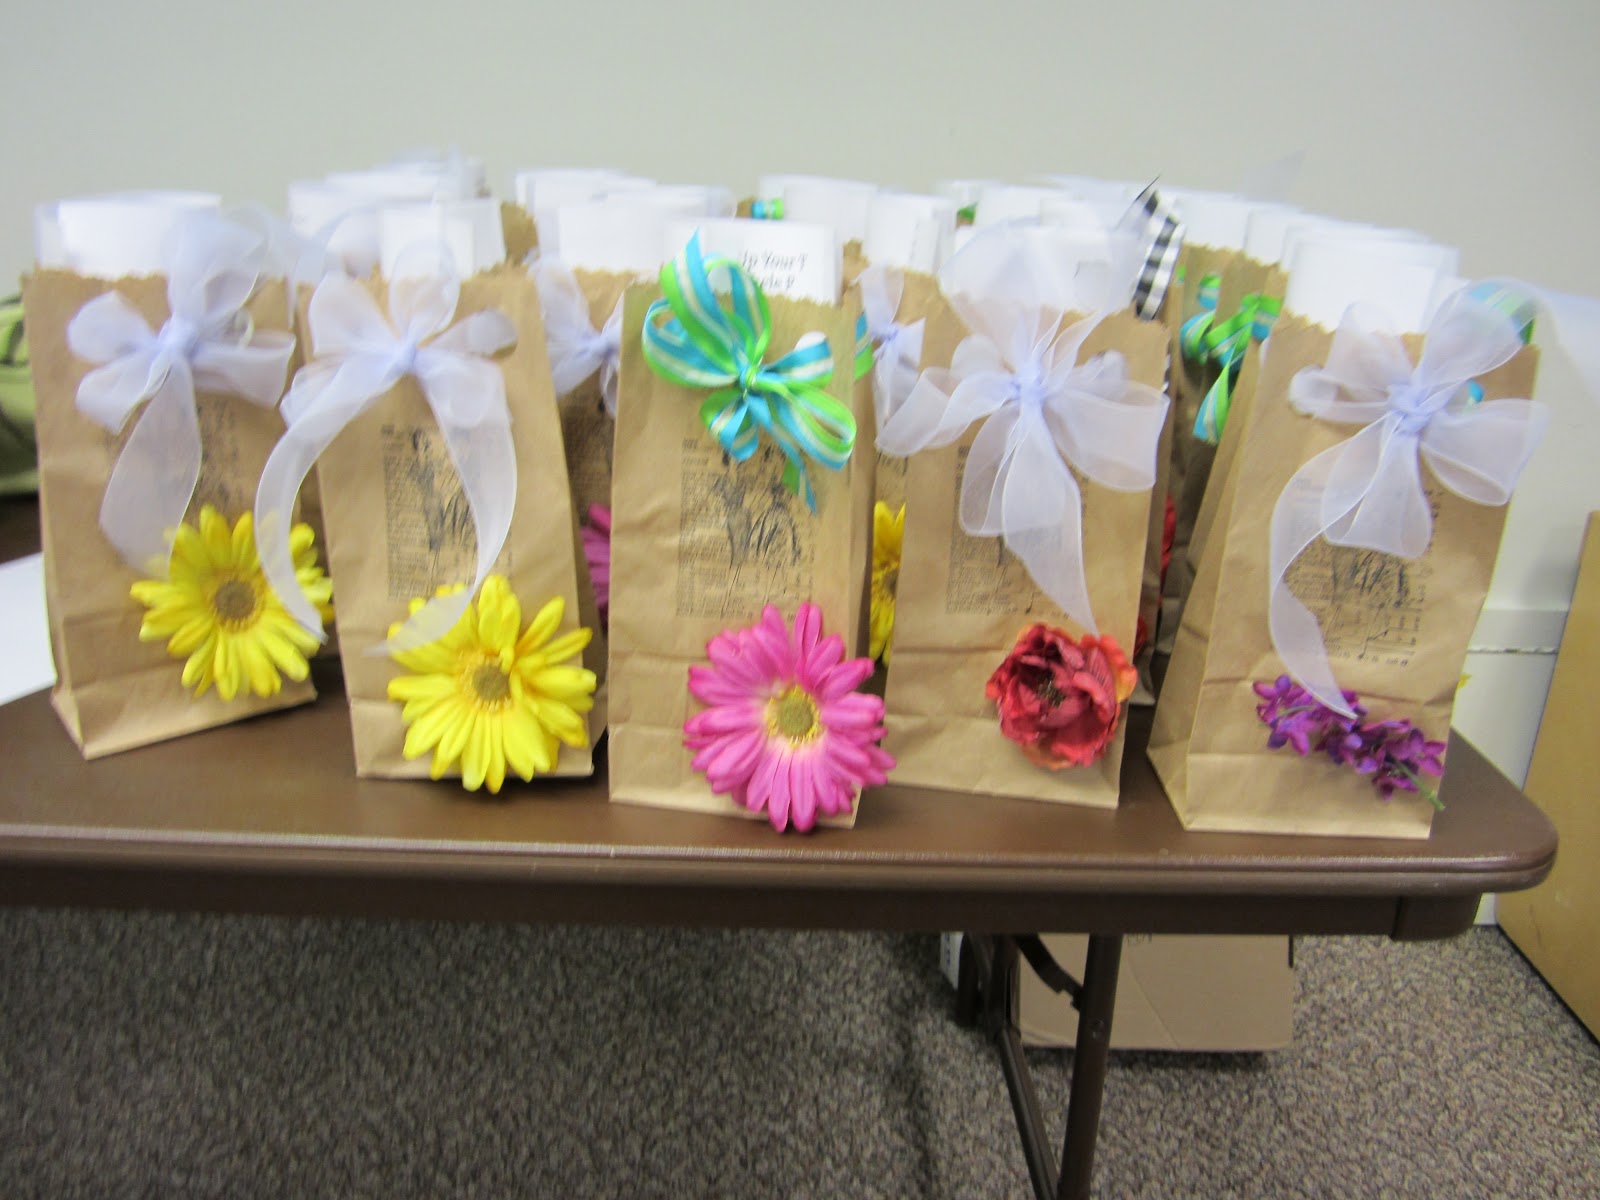
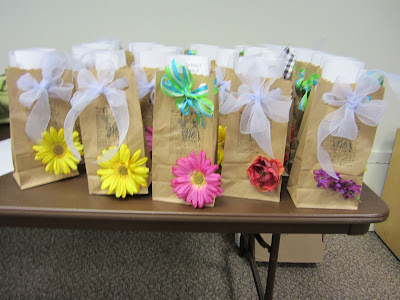
 I was asked if I wanted to make kits for the class and here is what I came up with, these are the bags that they were in:
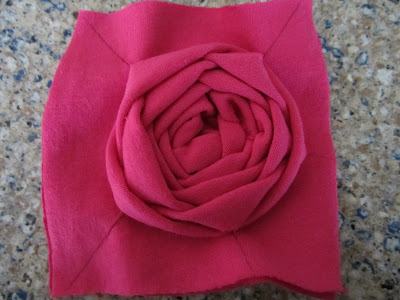
I taught them the spider web rose technique, and as you can imagine, they all caught on quickly.  They really are such a talented bunch.  Here is a sample of one that is almost completed.  The only thing left to do is cut off the backing fabric.
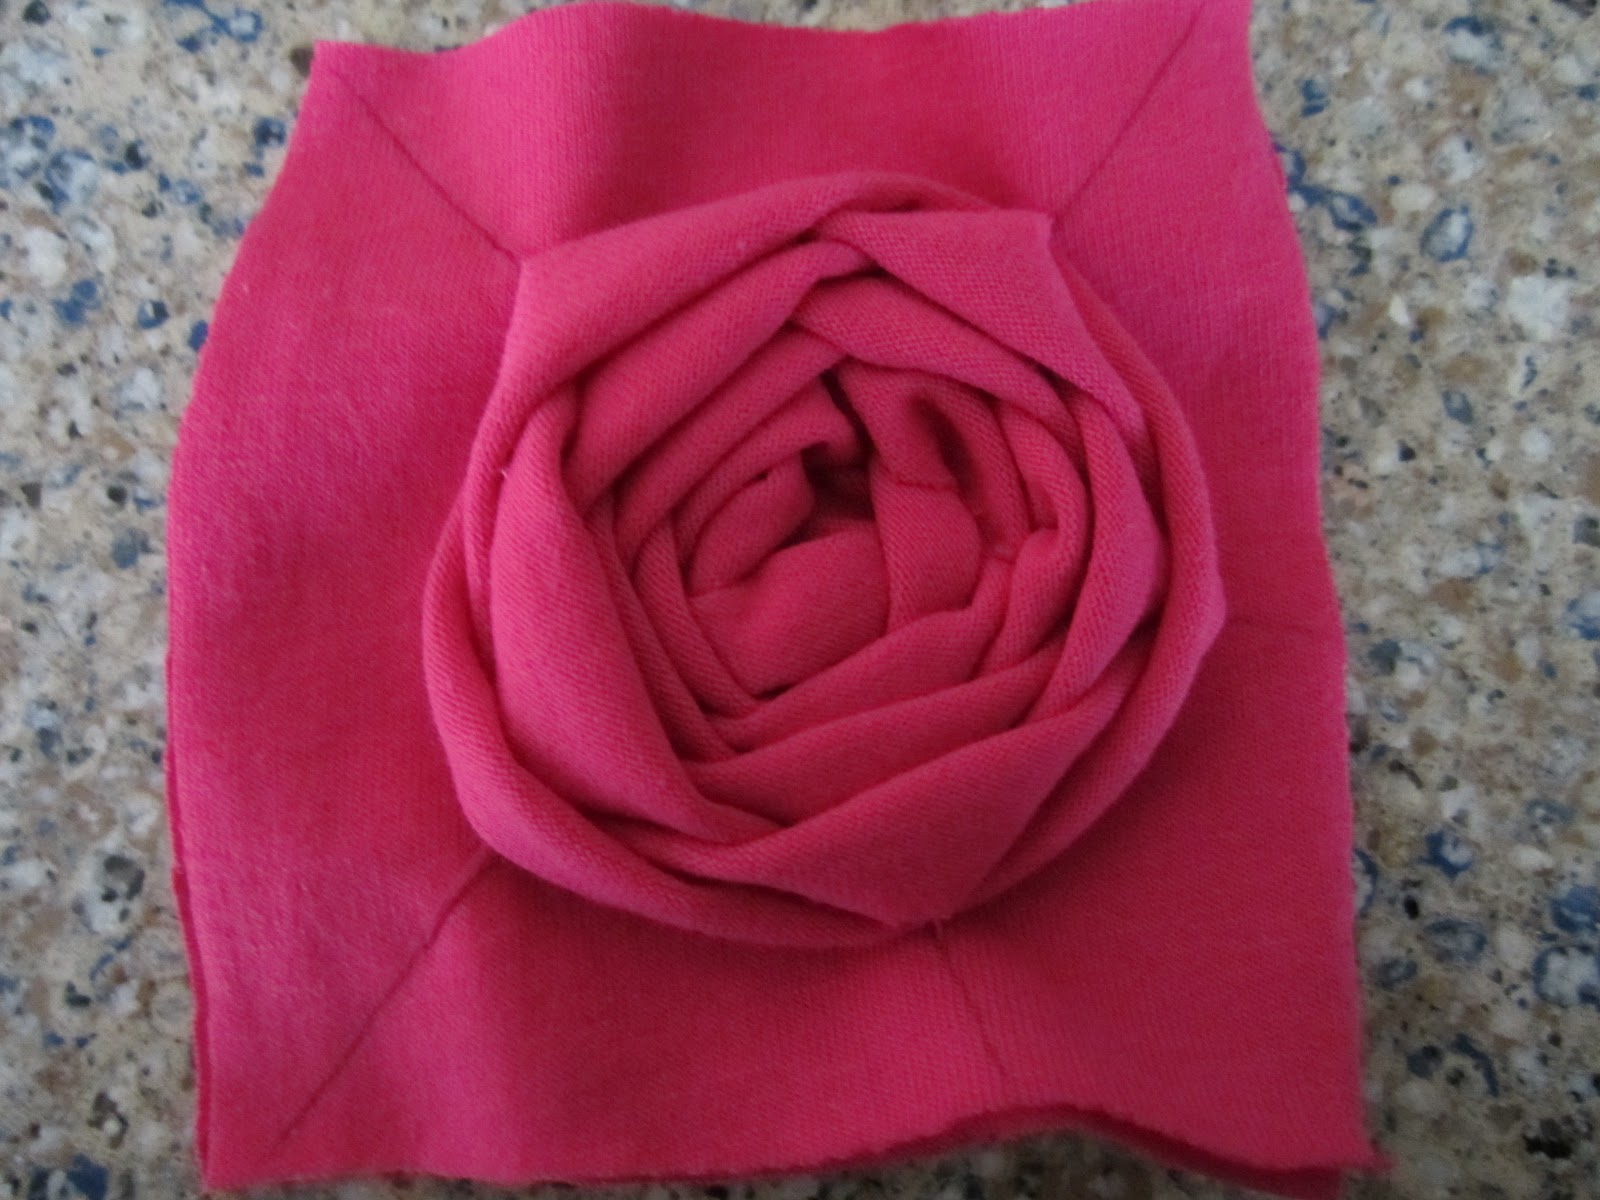
Here is one of my students and dear friend- Angie - she is a VERY talented smocker and this is her version of the spider web rose

how cute it that!

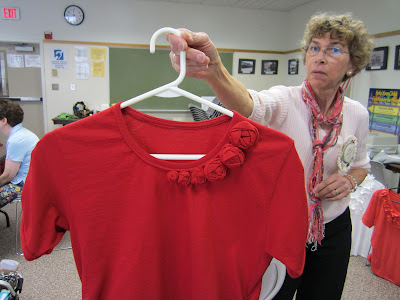
And for this project, I was motivated to complete this T for me:
Well, I was going to post a new T, but I can't find my camera.  I think I left it at the last ASG event I attended.  Yikes -
so no pics from me today.

Happy Sewing,
Michele P

Monday, March 26, 2012

I ran across this post on Rhonda's Creative Life.  She is posting a series of sleeve makeovers.  She really does a great job of showing how to create the pattern from a basic sleeve pattern.


Sleeves On Saturday


When I first introduced the new series of Sleeves On Saturdays, I showed you this top. The top itself is just a basic T-shirt top. The sleeves are what make it interesting.
Nice drapes that fall from armhole seam.
Begin with your sleeve pattern.
Fold the sleeve in half. It's much easier to work with just half of the sleeve.
Draw in the lines where you would like your drapes to fall from. I forgot to add in the above picture that you should number your pieces. It's always helpful to number pieces because once they are cut apart, it can get a little confusing.
Draw a vertical guide line on your paper. Begin by placing the bottom portion of your sleeve on the line, number 1 in the picture above. Decide how deep you would like your drapes to be and place the next piece of your sleeve on the line, 2" to 3" is a good amount for the spread, but it is up to you. You can also decide if you would like the bottom drape to be deeper than the other drapes, you are the designer, it's up to you.
Click here for the complete tutorial.
 
 
Happy Sewing,
Michele P

Friday, March 23, 2012

Zipper Neck!

Again on Pinterest I found this fantastic tutorial.  I can't wait to try this.  Perhaps this Sunday I can get to it!

The site is Trash to Couture and click here for the entire tutorial.


Supplies: Zipper 22 inches or so...

old tshirt or 1 yard fabric.


I am all about casual style, but usually like something to separate my tee from everyone elses. This started in middle school when I took my first sewing class and from their I was refashioning the family's "giveaway pile."

Here is one I designed back then that I recreated for a tutorial. I wanted to share it because it's quite easy, yet still looks amazing! I've never seen anything like it...enjoy!


For this zipper: I know they have double zippers, but they go the other way so you will have to make it like i did. I had a 22 inch one (you can get these at any fabric store). I needed another side so I pried the little stoppers off the end and pulled another zip through...so now it's double sided.


You can use an old tshirt, it doesn't matter what size. Cut the neck ribbing and shoulder/sleeve seams as shown here. You will probably have to cut the sleeves to fit with the length of the zipper or adjust the zipper length if you don't want to finish the sleeves again. You can also cut sleeves off of mens tshirt and it usually fits about right...


If you use fabric: I used a light jersey cotton with a nice drape. I cut 2 pieces of fabric at 22 inches wide (as wide as the zipper). If you want to finish the edges add a 1/4 inch seam allowance. It is 40 inches long to add a cinched waist.


If the fabric is light, I would suggest ironing interfacing to the edges so it wont wave from the zipper.
Sew (front and back) right sides together starting at either end.

Sew the side seams if you used your own fabric. Then cinch the waist like I did here. This will give the shirt some shape.


I really think she did a great jog with this tutorial.  I have been trying to figure out how to make this top for quite a while, and now I know!

Happy Sewing,
Michele P

Tuesday, March 20, 2012

Spring Flowers

I ran across this tutorial on a blog I found on Pinterest! I think these are beautiful and worth a try for Easter or a party.


Just a few supplies and presto  you have these great flowers.

Click Here for the full tutorial

Sew Happy,
Michele P

Saturday, December 24, 2011

Christmas 2011

Merry Christmas from our house to yours!


My all your wishes come true!

Happy Sewing,
Michele P

Thursday, December 15, 2011

Quick Gift - Fabric Covered Pattern Weights

I thought I would post this tutorial again as it was one of the most viewed in 2010!  These are a quick, easy, and inexpensive gift for your sewing or quilting friend! 
 
Custom Pattern Weights


Of all of the gifts so far, this is the fastest! 


Purchase washers from the hardware store. I found these at Lowes and I think a box of 20 were about $3.00.


Cut bias strips of light weight cotton - I tried heavier weight fabric and it just doesn't want to wrap. Fold strip as above and start wrapping around weight. Make sure that as you wrap, you cover the raw edge of the strip with the fold edge.

When you have finished wrapping the entire washer, fold raw edge under and either hand sew down or use my favorite product, fabric tac and glue the edge down . That is all there is to it! Make six or eight in matching fabrics and place in a decorative box. Your sewing friends will love them and sew will you.

I read all of your comments - so please leave me one if you have time or click a box to let me know you were here.


Happy Sewing,
Michele P

Wednesday, December 7, 2011

Christmas Centerpiece

As I told y'all in last week's post, I have been going CRAZY making holiday crafts.  I have been so inspired by all the talented people on Pinterest that I made all new Christmas decorations for my dining room.

These are the ones I made for the credenza:
One side of the centerpiece


Other side of centerpiece


Large Topiary


Two more

These decorations represent my new Christmas color scheme.  They really don't look like much, but they took me two entire days to make!  Today has been very rainy and grey so I had a hard time getting a good picture to show the colors. 


I have two more decorations to show you that complete my insanity of creation and will post them next week.

Happy Sewing,
Michele P


Tuesday, December 6, 2011

Tip Tuesday - New weekly post

Today I am introducing Tip Tuesday. I will post these on the Tuesdays that I do not have a T Shirt to show.

I don't know about you, but sometimes I am scarf challenged.  I can tie some scarfs, but these newer sheer ones have been given me a little problem.  I found this site via Pinterest (I am too obsessed with that site) and love this little video on how to tie a simple scarf.


Check out how to tie scarfs for several more videos!

Please don't forget to join my blog hop.  I know the pics are blurry - my first attempt was somewhat a guess I now know what to do for the next one.

Happy Sewing,
Michele P

Wednesday, November 30, 2011

My Christmas Wreath

I have not been sewing much lately as I have been obsessed with Pinterest and all of the crafts I see there.  I really need to quit looking at it, but I just can't!  After seeing all of the beautiful Holiday decorations I decided to make all new ones for our house this year!  After MANY trips to Michael's, Target, and AC More I have two things made! 

Here is my first - A new wreath for our Front Door


Not my best photographic work, but I hope you can see it ok. 


Another shot of the wreath.  This one is on the door to my studio - so the angle is kind of strange!  I will try to take one on my actual front door - but it has been raining so much that I have not been able to get outside and take a shot.


Now I am going to try something new:  I have been wanting to do a blog hop for quite a while - so here goes!  All I ask is that you post something you made and if you are not a follower of my blog, please become one.


Tuesday, November 29, 2011

T Shirt Tuesday - Au Bonheurs Asymmetric Tee

I hope you had a great Thanksgiving and survived Black Friday as well as Cyber Monday.  I have been working on my Christmas Decorations so for today's T Shirt Tuesday I thought I would feature Shams from Communing with fabric .  This T is so cute and goes along with my post of last week on color blocking! 


Here is some of what Sham's had to say about the pattern: 

It's sad that this company is now out of business, but I know some folks do have their patterns. This one goes up to a size 46, though the finished bust measurement is 41". This is not nearly enough for my 48" bust. However, I have recently worked out that in stretchy tees, I like a finished bust of 44", or about 4" of negative ease.
I needed an FBA, as usual, and decided to try a new-to-me technique, the pivot-and-slide FBA. You can see it explained on the Sharon Sews blog. I pivoted the top 1.5". This worked well at the side seam, but had an undesired effect in the armsyce by making it too wide. I will explain how I fixed that in a bit.
As I traced off the size 46, I straightened out the extreme waist shaping, as I do not have a tiny waist, and I removed the extra hip width, as I have narrow hips.
The top features asymmetric cap sleeves, which are very cute, especially on Dorothy, but I do not wear cap sleeves. I decided to take the sleeves from the Style Arc Adele top that I recently made. This meant that I had to transfer the armscye from the Adele top to the Au Bonheur top. This took care of the unwanted width added from the pivot-and-slide FBA and also narrowed the shoulder by about 3/4". Another good alteration for me as I narrow the shoulders of most patterns.

Go to Sham's web site to read the rest of her post!

Happy Sewing,
Michele P

PS - let me know what you think by leaving a comment or click a box.


Tuesday, November 22, 2011

New Coat for Viva

Our little doggie Viva needed a new coat this year.  She is such a wiggly worm when we are trying to get dressed to go out that it is very difficult to get a coat on her.  She loves to go for walks and is wild when you say 'go around the pond'! 

I have purchased and made many coats for her and found that this style is the one that really works.


Viva is a VT fan and a real Hokie girl so I thought this pink VA Tech fleece was the perfect fabric for her.


And because she is a girlie girl I had to add a bow!


Happy Sewing,
Michele P


Tuesday, November 15, 2011

Welcome Back T-Shirt Tuesday!

I am so happy to have a T-Shirt Tuesday Project!  I have been in a T-shirt funk of late and have had no inspiration until today.  I have been motivated to make a color block T.  These Ts are a must have Fall 2011trend.  You can find them at every price point.

Here are a few that have inspired me:


Here is my interpretation of the color block T


Start by using two long sleeve Ts.  I purchased them from my fave Target on sale last year.  Play around with the color block. 


This was my first try.  Ultimately I decided that I wanted just two blocks rather than three.

The Final design with only two blocks


Once you have finalized the block design, put the two Ts on top of each other and cut your blocks.  You will note that the mustard T is a turtle neck which goes to show that you can use any T you find.


Next, cut the block from both T as they are stacked. 


Cut the sleeves at the same length as the body block to create a line the goes across the body and sleeves at the same point.


Now sew the two block together and you should have something that looks like this:


I thought this was a little too plain for me so I took some of the left over mustard and made a large bow.

I used the entire width of the T and cut it about 3+ inches.


Fold the strip in half with the seam on the end.  Place a rubber band the color of the T (if you have one) about 3 inches from the end to make the bow.


Add to T and walla designer color blocked T for about $3!


Let me know what you think by leaving a comment or click a button.

Happy Sewing,
Michele P


Thursday, November 10, 2011

DIY French Lamp


I have been wanting new lamps for our family room since I gave  kiddo our old ones.  I put out our even older ones just as a place holder until I found what I wanted.  Well. . .   3 years later, and one Faux Retirement later I still have no new lamps!  The only ones I find that I like are $300 or more.  I just can't bring myself to spend that much and Dr. P really won't!  So - I decided to make one.


On the Kitchen table to provide a better picture

This is where it actually sits in the Family Room


I found this Eiffel Tower base at Target and had to have it!  I do love the way Target identifies their bases by size so that you know exactly what size shade works with the base.  I can't tell you how many shades I have drug home only to return them because they were not the right size for the lamp.  Anyway, this is a medium size base so I needed a medium shade.

This is what it looked like when I brought it home.


I silk screened this vintage French postcard design on a large piece of silk / cotton fabric and then applied it to the shade and finished it off with brown petersham.


I think it is only appropriate that one of the books I used to raise the lamp is the Chanel


I am happy to report that this project was a success.  My barometer to determine the success of the project is sometimes Dr. P's reaction. Therefore when Dr. P came home from work the day I completed it, he had a little mad fit thinking I had purchased it from a little boutique that I had dragged him to a few weeks before and the price of a similar one was $450.  He was soooooooooo happy when he found out I had DIYed it.  And I didn't even get mad at him for his fit!


Let me know what you think by leaving a comment for clicking a box.

Happy Sewing
Michele P
Related Posts Plugin for WordPress, Blogger...